


Systems Inquiry Language (SIL) is multilingual SQL. It is used to communicate with relational database management systems (RDBMS) and database management systems (DBMS).
SIL addresses the issue of creating SQL statements in languages other than English. It helps users create SQL statements in their own languages.
SIL is a software data base client application for users to access and manipulate data in DBMS/RDBMS or in any other system which accepts SQL queries. This includes MySQL, SQL Server, Oracle, Sybase, DB2, and other database systems. By using this software, users will be able to create SQL queries in their own languages and perform Data Definition and Data Manipulation by creating, editing and managing data.

SIL can do all the operations on a database which are done using SQL but, in a user’s native language.
How does SIL works:
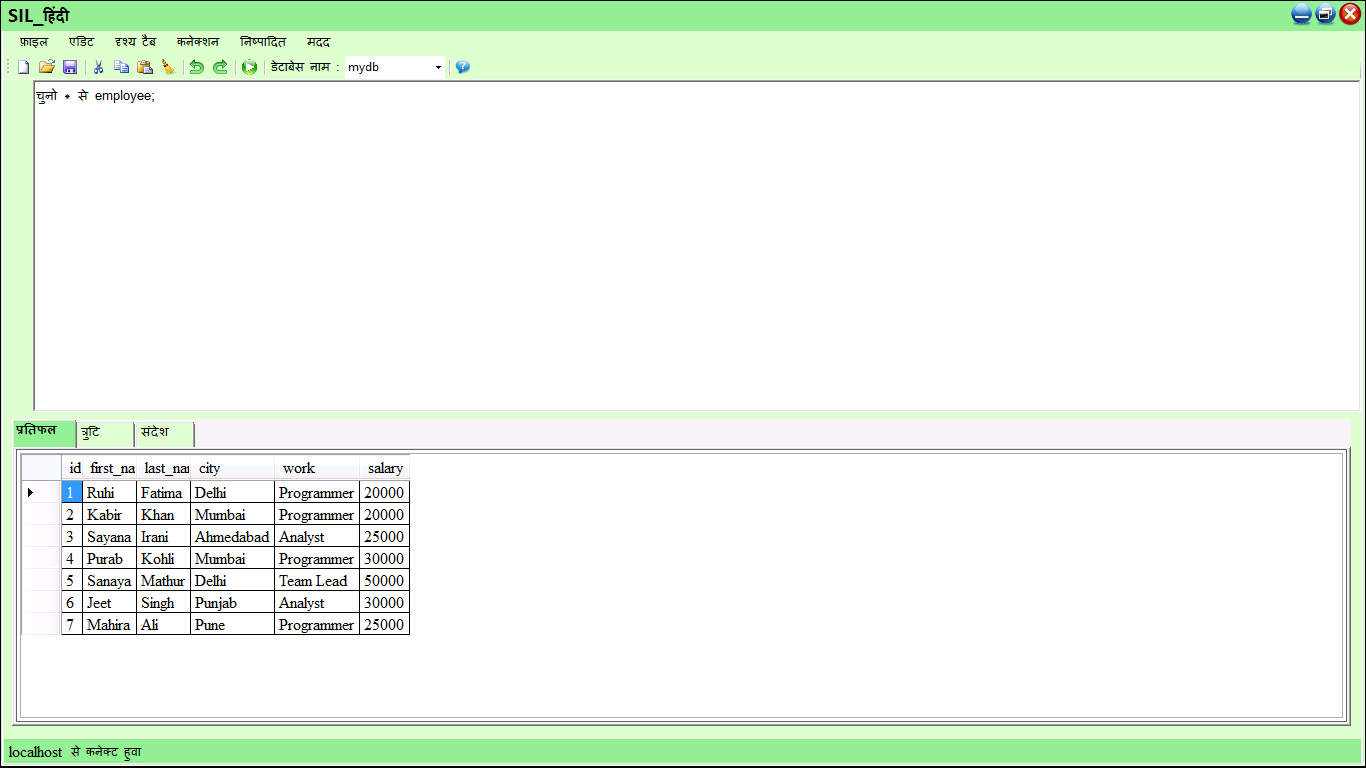
SIL takes the statements like keywords, functions, procedures, and syntaxes in other languages and converts them into SQL queries. In the background, processing is done against the SQL queries. The task relates to data processing using extraction, transformation, and loading of data (ETL) against DBMS / RDBMS systems or any system which accepts SQL queries.
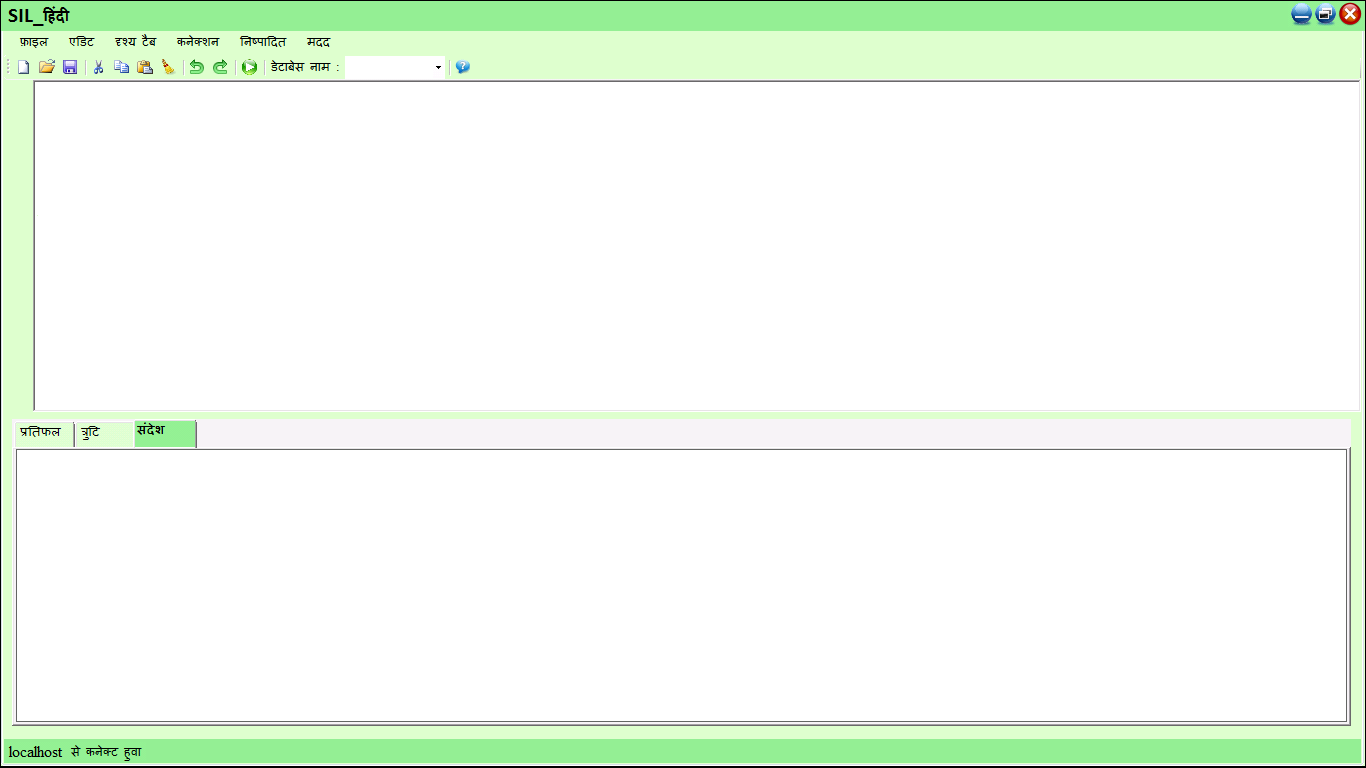
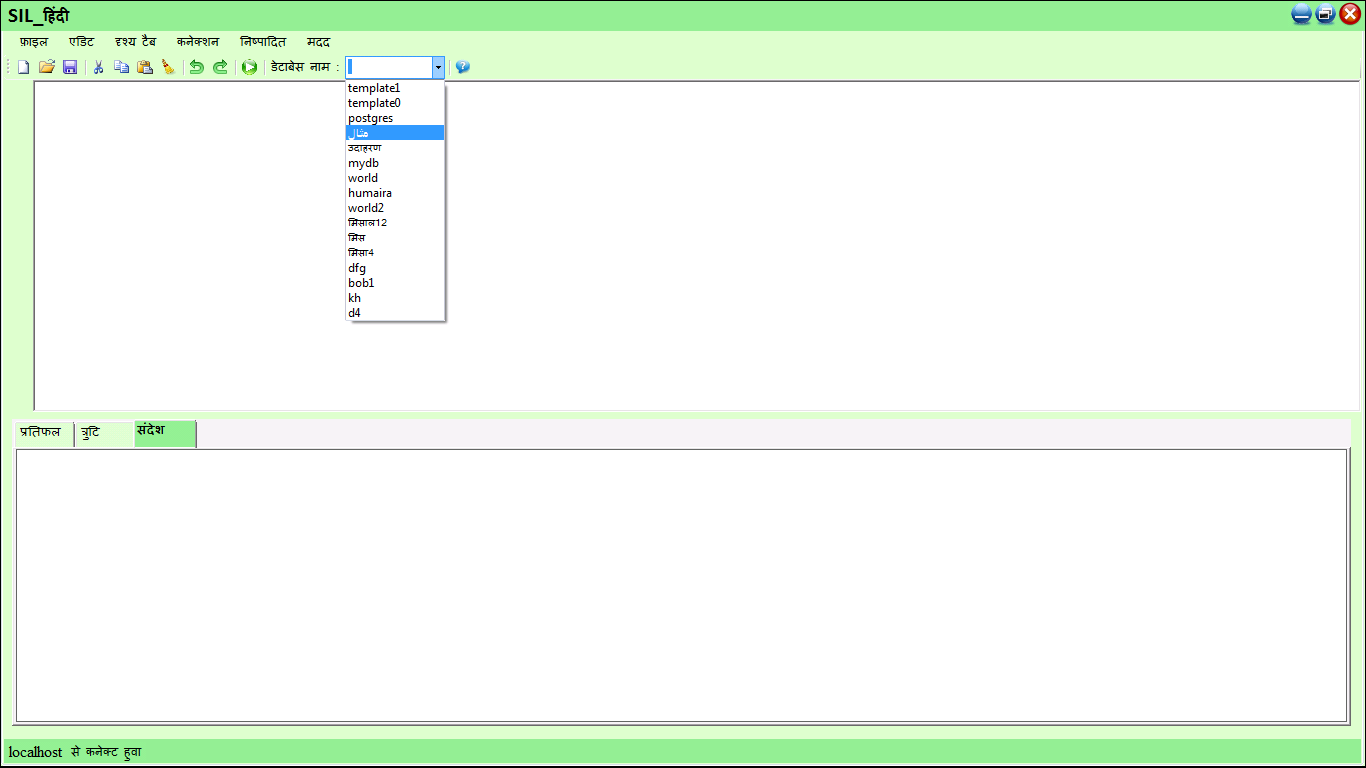
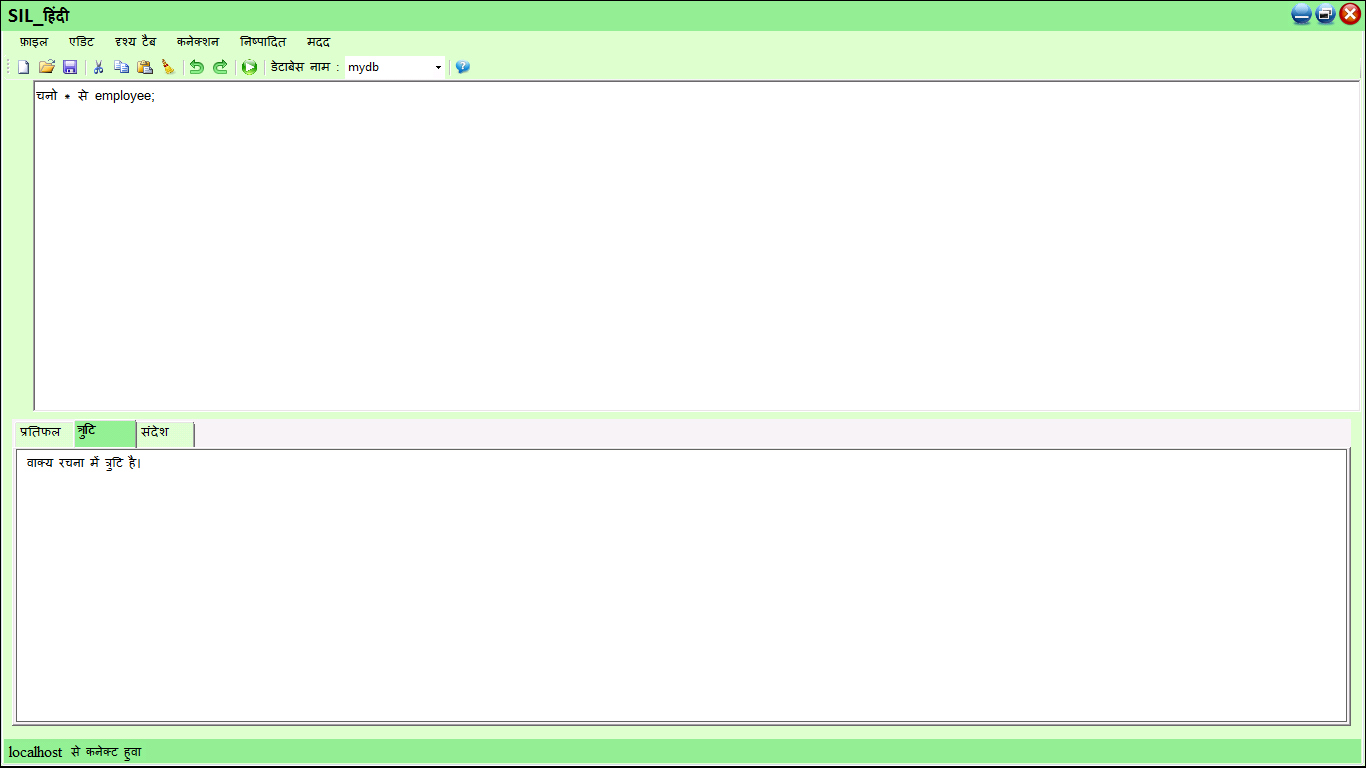
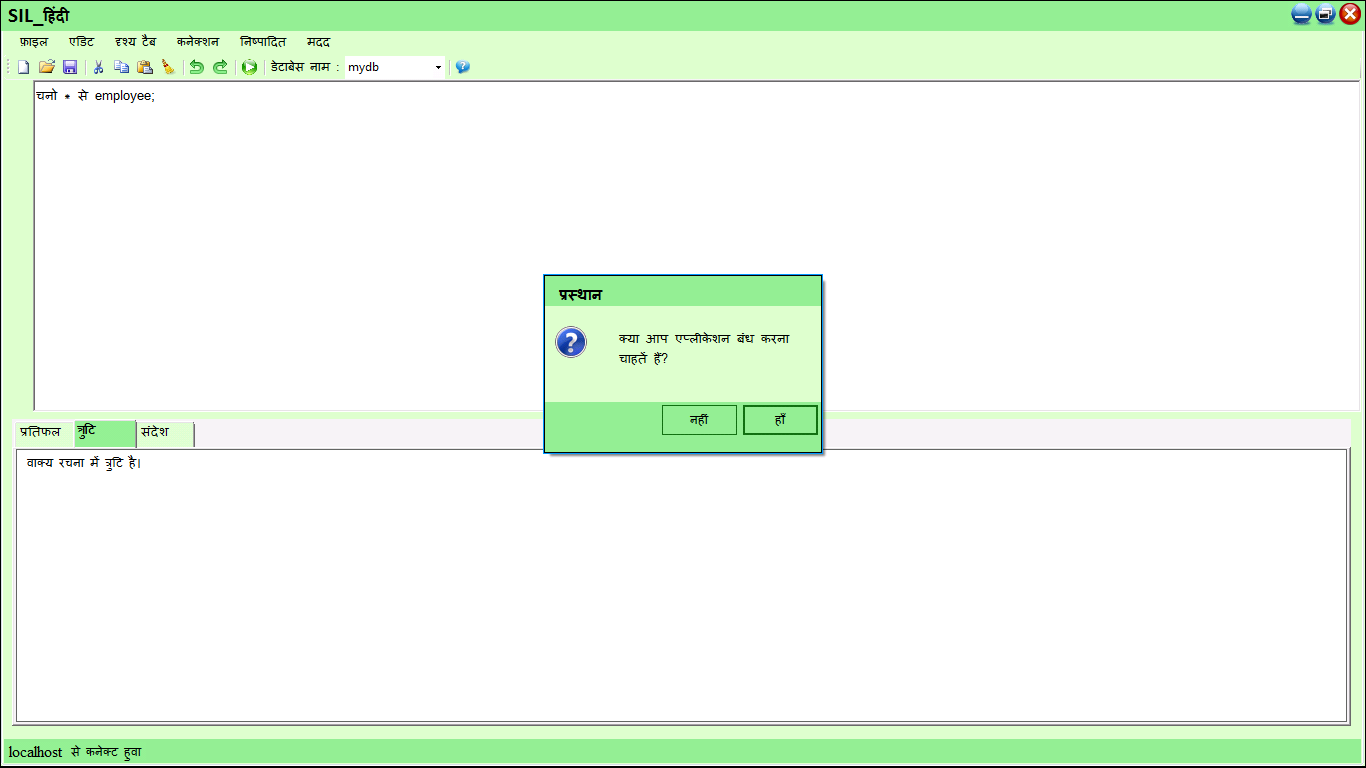
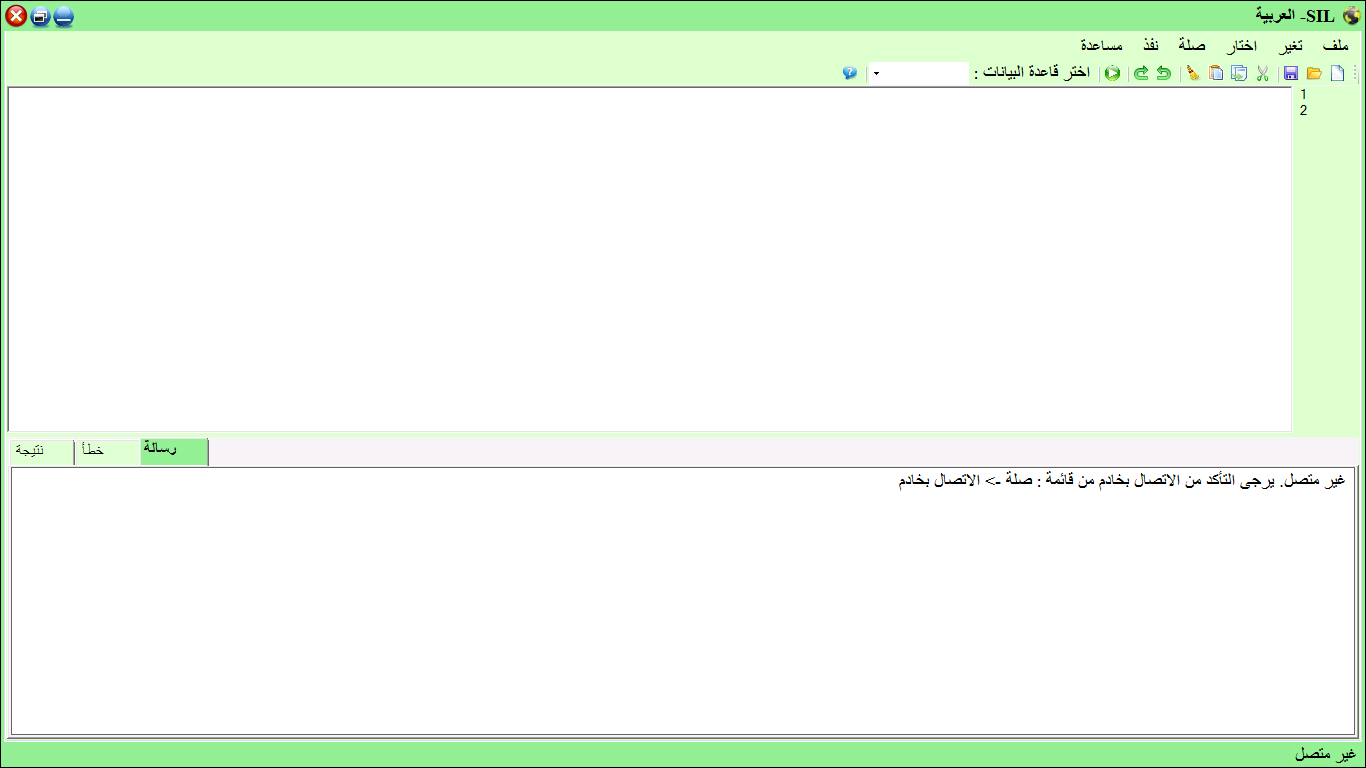
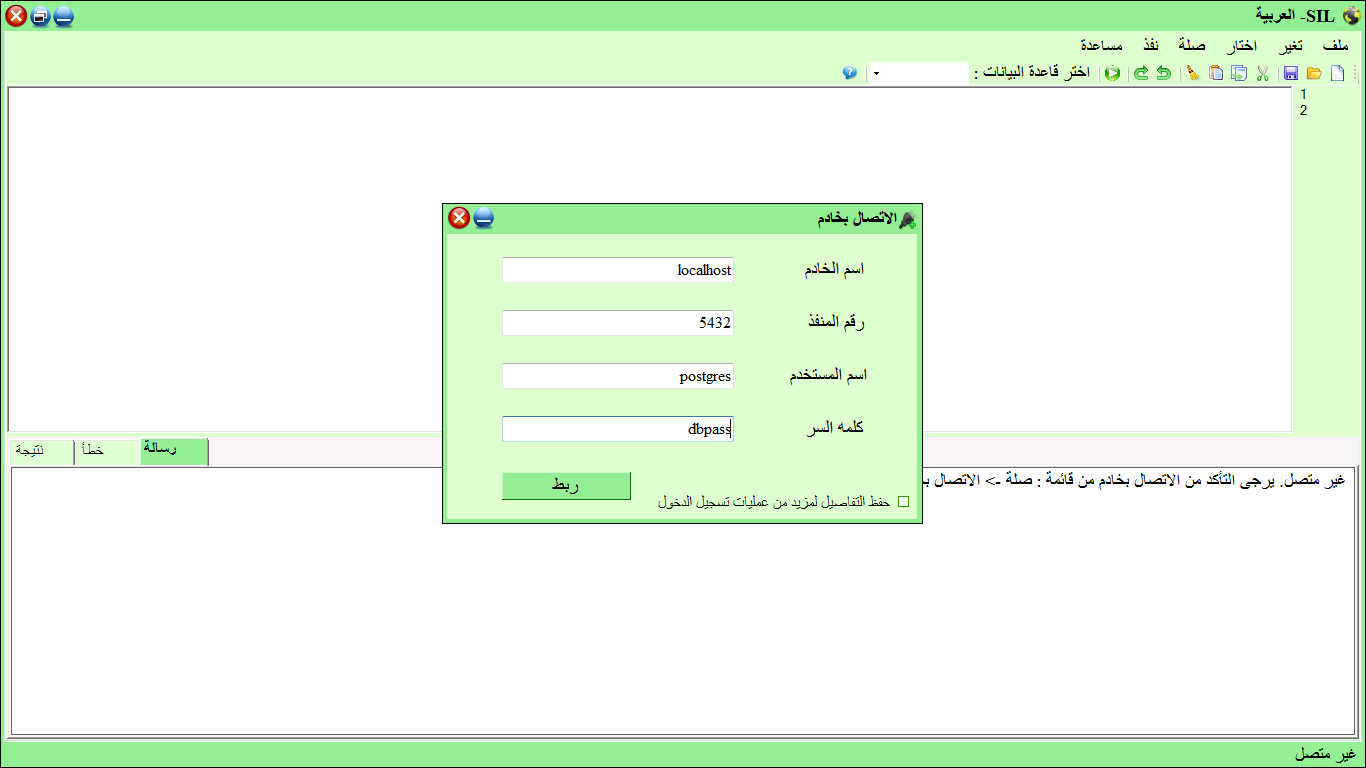
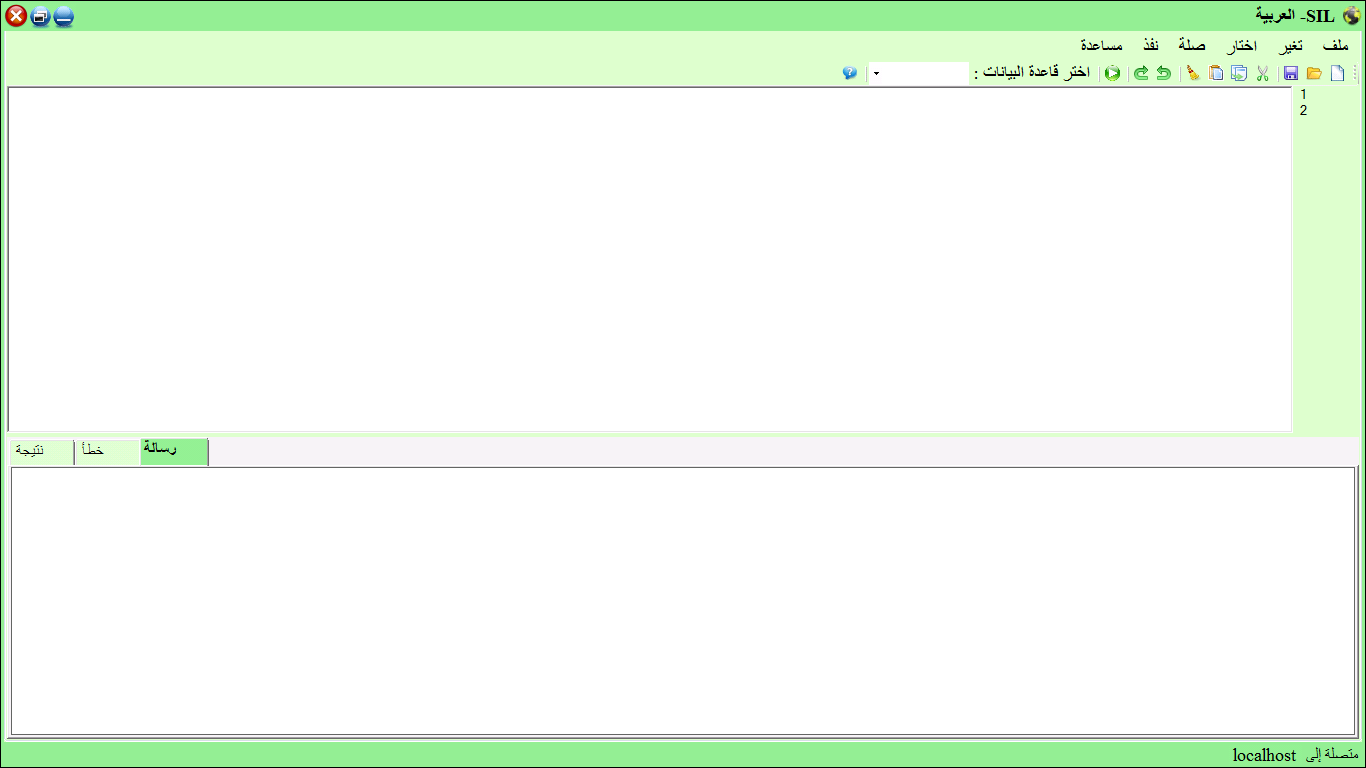
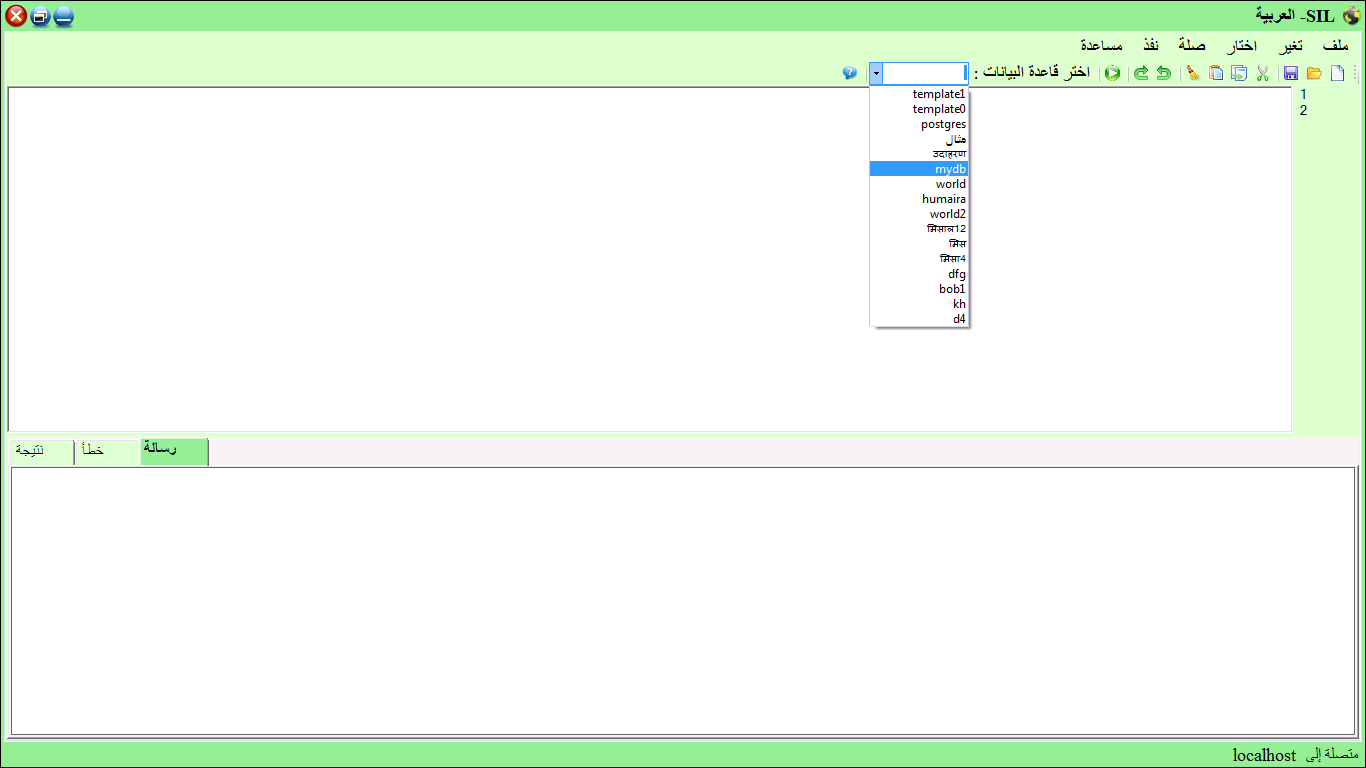
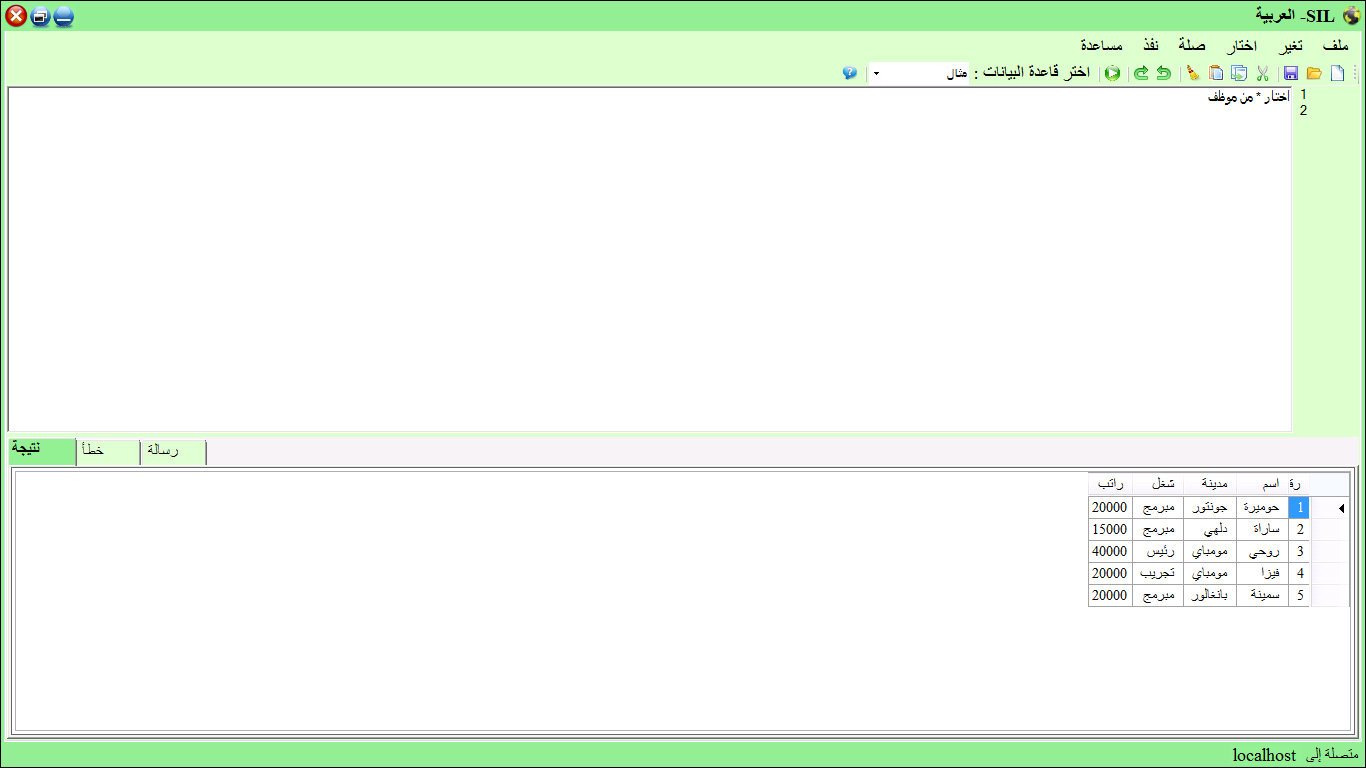
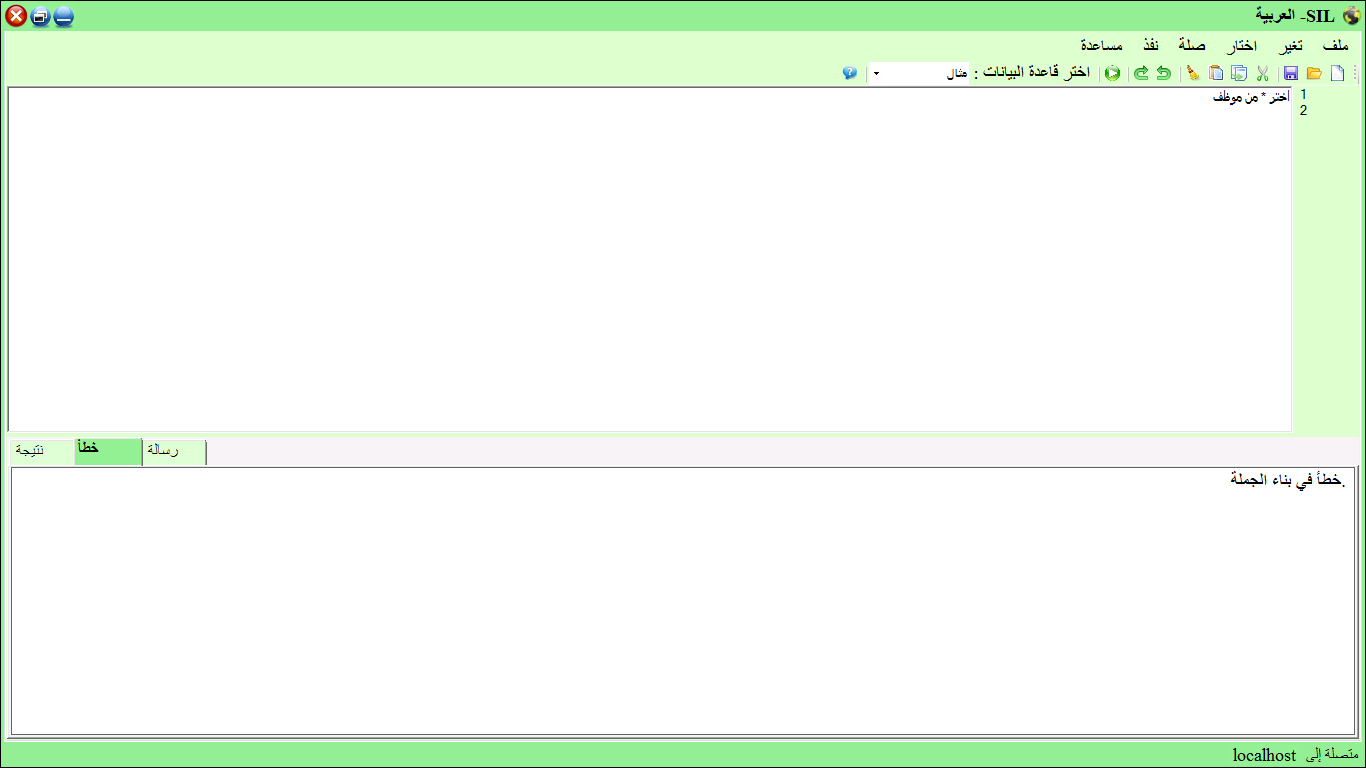
SIL Editor is a window where a user can create queries and communicate with a database using SIL statements in different languages. The user can select any of the available SIL languages (for e.g. Chinese, Arabic, etc.) and communicate with the database in that chosen language. All the statements including queries and functions which are created using SQL can be created in other languages using SIL. The user is provided with a SIL User Guide which contains a list of words in the user's native language. These words correspond to similar SQL words. Using them, the user creates SIL statements and submits them for execution.
| Requirement | Details |
|---|---|
| Memory |
1 GB RAM for 32-bit 2 GB RAM for 64-bit Note: The memory required may vary based on the following:
|
| Hard disk space |
120 MB for PostgreSQL 32 bit 150 MB for PostgreSQL 64 bit |
| Operating system |
Windows Server 2012 (64-bit) Windows 8 (32-bit and 64-bit) Windows 7 (32-bit and 64-bit) Windows Server 2008 R2 (64-bit) - 2 CPU required Windows Server 2008 (32-bit and 64-bit) - 2 CPU required Windows Vista (32-bit and 64-bit) Windows XP (32-bit and 64-bit) Windows Server 2003 (32-bit and 64-bit) |
| Requirement | Details |
|---|---|
| PostgreSQL 9.4 |
There are three steps to complete the PostgreSQL installation:
You need to download the installer from the PostgreSQL Official website.
Double click on the installer file, an installation wizard will appear and guide you through multiple steps where you can choose different options that you would like to have in PostgreSQL.

The following illustrates each step and its options for installation. If you install a different version, you may get additional steps.

Specify installation folder Choose your own or keep the default folder suggested by PostgreSQL installer.
Enter a password for the newly created postgres superuser account. Remember this password! We will use the password postgres in our examples, so we will recommend you use this as well.

Enter the port for PostgreSQL. Make sure that no other applications are using this port. Leave it as default if you are unsure.

Choose the default locale used by the database.

You've completed providing information for the PostgreSQL installer. Click the Next button to install PostgreSQL.

The installation may take a few minutes to complete.

The Application Stack Builder provides you an easy way to install a variety of helpful add-on software to PostgreSQL. PostGIS is one of many such applications.
The Stack Builder needs to know which database to install extensions for. Select the local option Select PostgreSQL 9.4 on port 5432 and click Next

Under Categories choose two applications. The first application is under Database Drivers. Selects the option below it.

The second application is under Database Server. Select as shown below and press Next

Press next for download.
This dialog lays a downloading progress bar while loading the additional packages. You don't need to do anything to continue.
Stack Builder installation is successfully completed.


There are several ways to verify the installation. You can try to connect to the PostgreSQL database server from any client application e.g., psql, pgAdmin, etc.
The quick way to verify the installation is through the pgAdmin application.


First, click on pgAdmin III to launch it. The pgAdmin III GUI will display. Second, double click on PostgreSQL 9.2 on the object browser. It will ask you for the admin password. Just enter the password you’ve used in the installation step.

Third, if everything is fine, the pgAdmin will display all the objects that belong to the server.
Congratulations! You've successfully installed PostgreSQL database server in your local system.


Third, if everything is fine, the pgAdmin will display all the objects that belong to the server.
Congratulations! You've successfully installed PostgreSQL database server in your local system.
SIL DB is using oracle.com for instructions to install the Oracle database software.
Follow this link to the installation instructions.
SIL DB is using microsoft.com for instructions to install MS SQL Server software.
Follow this link to the installation instructions.
SIL DB is using mysql.com for instructions to install MySQL Workbench.
Follow this link to the installation instructions.
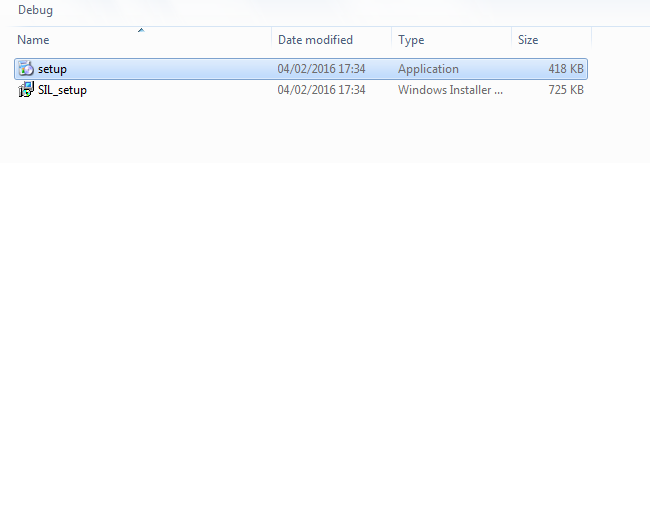
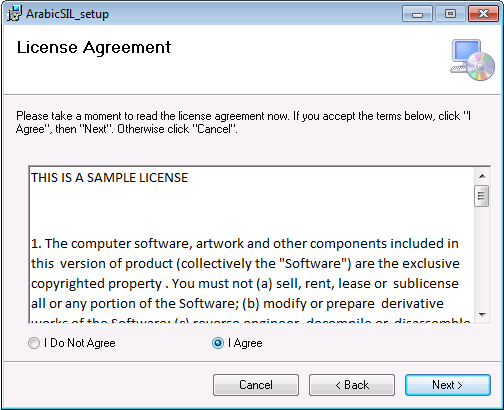
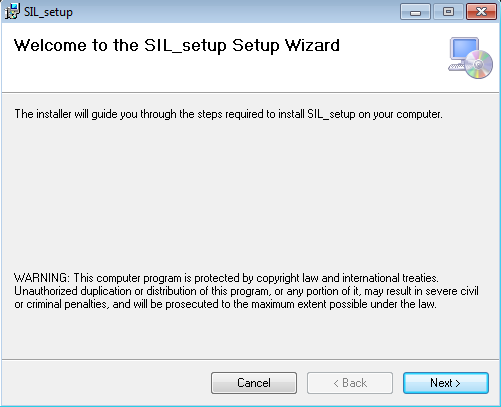
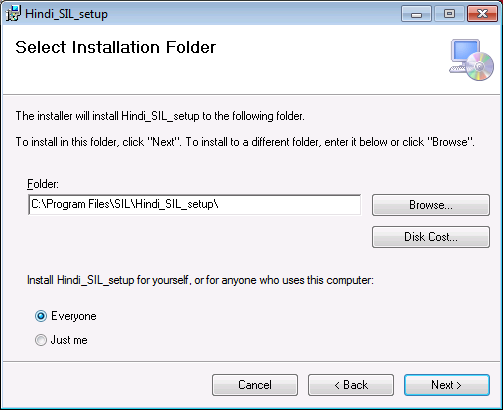
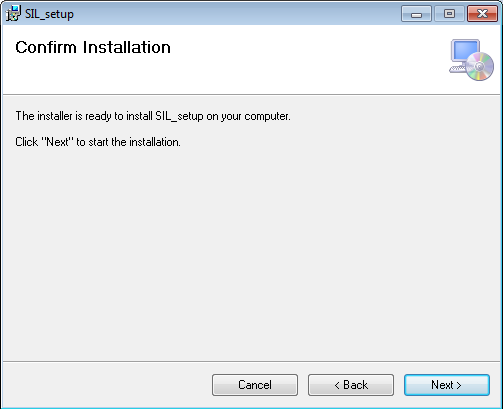
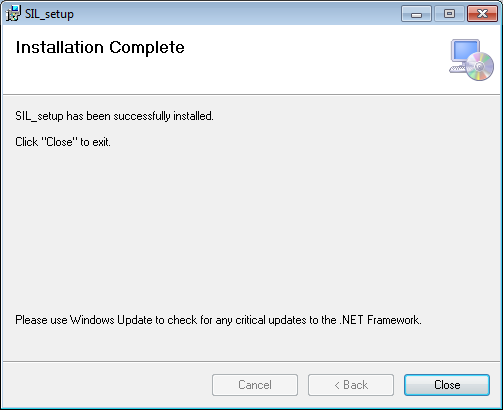
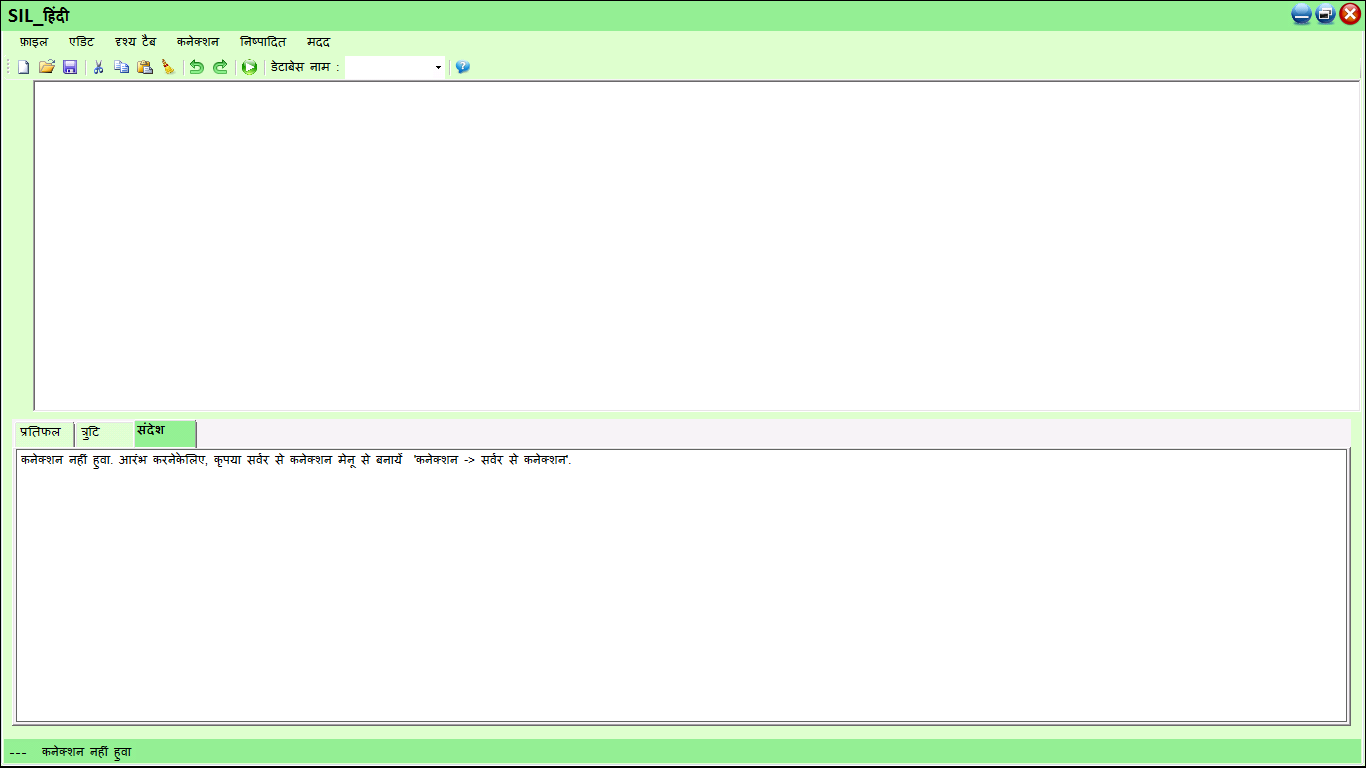
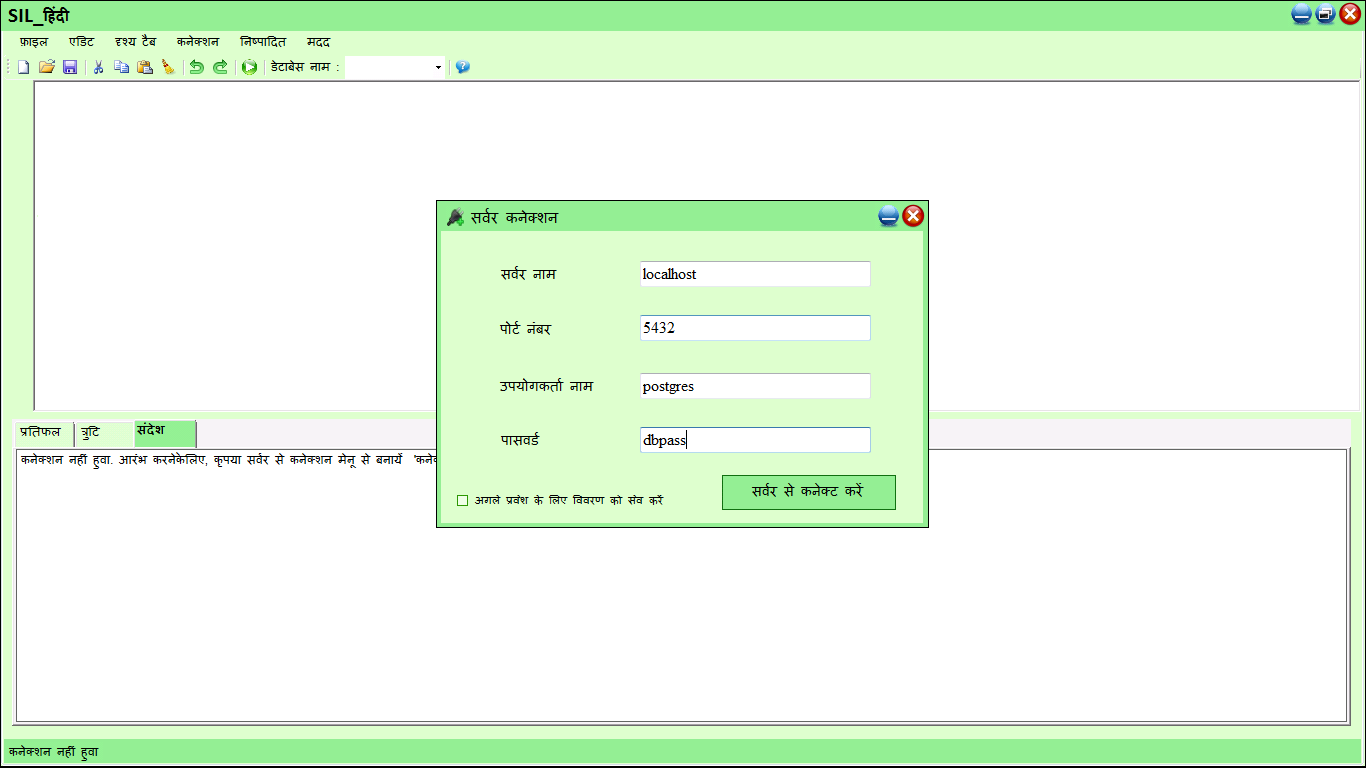
The following SIL installation instructions apply to all SIL multilingual versions.
SIL setup process:
| Language | User guide |
|---|---|
| Arabic | User Guide Arabic |
| Malay | User Guide Malaysian |
| German | User Guide German |

